
Where crown-and-bridge workflows break down
Clinics and labs promise a fast digital workflow but keep getting returns: poor marginal fit, unexpected occlusal contacts, and delayed delivery. These failures usually trace back to a few predictable choke points — scanning, file management, print setup, and post-processing. I’ve seen the same problems discussed at major events like the ADA Annual Meeting in Chicago, where bench demos often pivot to troubleshooting the printer-to-fit gap; a reliable option for that bench work is the dental resin 3d printer used to validate models before final fabrication.

Scanning and CAD: garbage in, garbage out
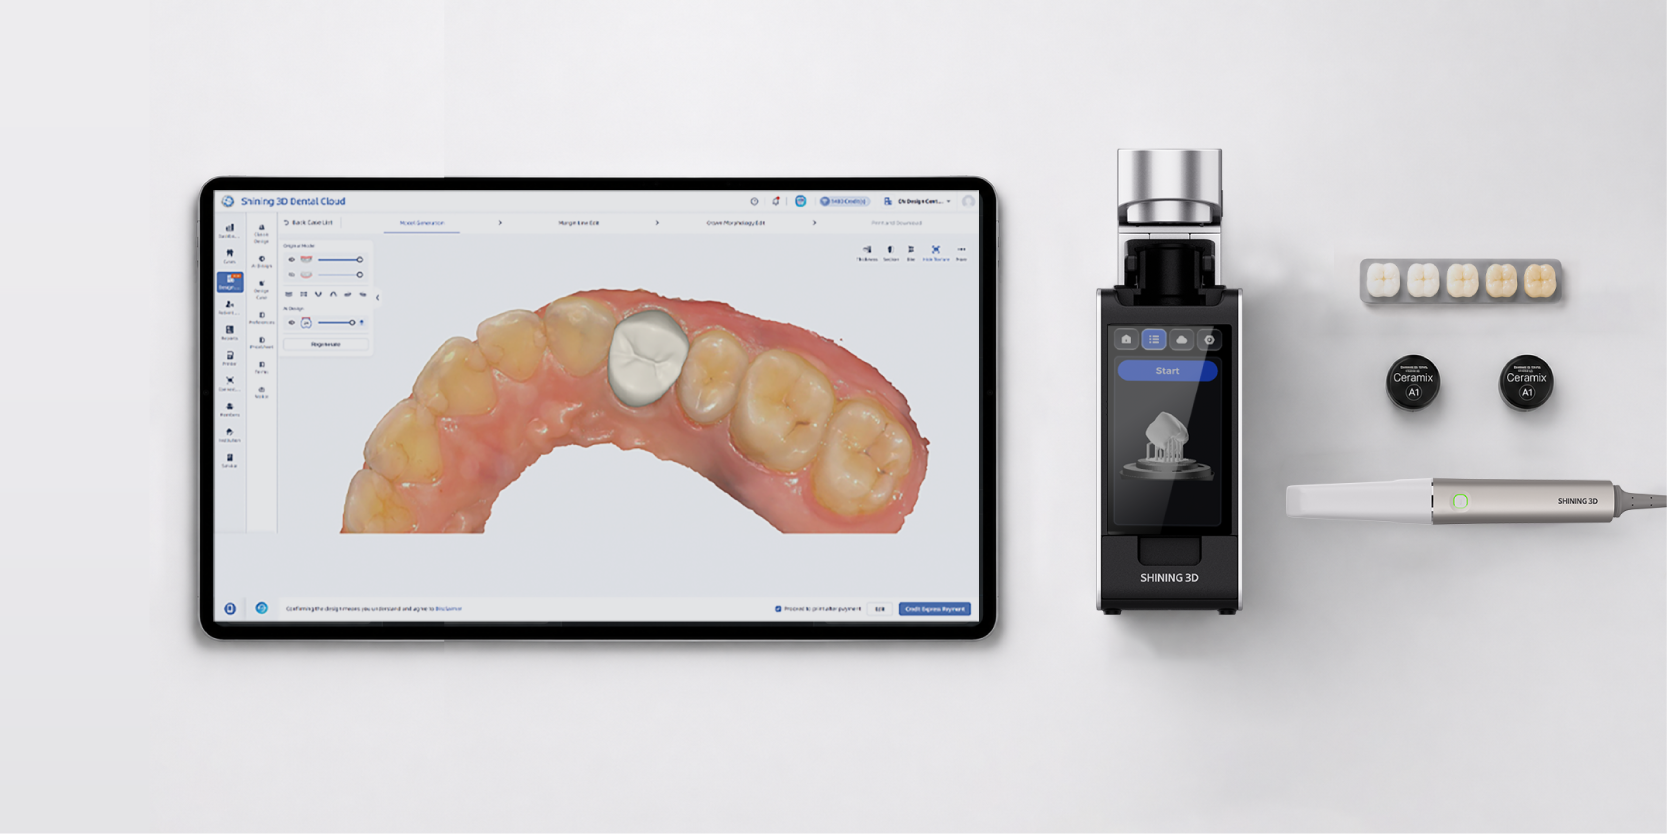
Problem: poor scans or inconsistent margin capture make every downstream step guesswork. Fix: standardize scan protocols — consistent powdering (only when necessary), fixed lighting, controlled humidity, and an indexed impression-to-scan landmark. Train technicians to check margin visibility immediately and export an STL that preserves resolution rather than compressing for convenience. If the margin isn’t clear on the screen, it won’t be clear on the crown.
File handling and design choices that cause remakes
Problem: ambiguous prescriptions and overaggressive margin adjustments in CAD. Fix: use a simple prescription template that records cement space, occlusal clearance, and finish line height. Limit automatic margin smoothing; review the prep line manually before generating the restoration. When designing pontics, align emergence profiles with the patient’s soft tissue profile — don’t rely on default blockouts.
Printing and material missteps
Problem: warpage, layered steps, and surface defects that ruin seating. Fix: orient models and temporaries to balance support placement and minimal overhangs. Choose resins rated for the intended use (model resin for diagnostic casts, high-strength resin for long-term provisionals). Pay attention to layer thickness versus planned accuracy: thinner layers improve contour but increase cure time and post-processing sensitivity. Set support density low at margins and reinforce away from critical fit surfaces.
Post-processing and handling errors
Problem: inadequate wash or inconsistent post-cure changes dimensions. Fix: standardize wash times and solvent strength; use dedicated post-curing rigs with verified irradiance. Drying stage matters — trapped solvent alters polymerization. Label batches, record wash/cure cycles, and reject parts that deviate from the cycle log rather than reworking them by feel.
Fit-check and verification failures
Problem: relying on visual fit checks alone. Fix: use silicone fit-checks for internal adaptation, articulator mounts for occlusion, and immediate marginal polishing to simulate final seating. When using printed dies, test seating with the actual restoration to confirm intaglio accuracy. If a restoration rocks or stains the margin during seating, re-evaluate the scan-to-design path rather than pushing adjustments on the finished piece.
Alternatives and when to use them
Problem: assuming one method fits every case. Fix: evaluate alternatives with specific criteria. Milled restorations still win for homogeneous strength in full-contour zirconia. Cast metal frameworks remain relevant for complex RPDs. Printed provisionals and models are faster and cheaper for temporaries and try-ins. Choose based on restoration geometry, required strength, and clinical timeline — not because a single tool is trendy.
Common mistakes teams repeat
Problem: skipping documentation, mixing materials across batches, and inconsistent training. Fix: keep a short log per case (scan ID, resin lot, print orientation, wash/cure cycle). Run weekly calibration prints and compare a physical gauge. Cross-train staff so one absence doesn’t derail a critical stage. Stop accepting “it looked fine” as a quality-control answer.
Quick practical checklist
1) Confirm margin visibility on scan. 2) Lock prescription details in the CAD file. 3) Orient and support prints to protect margins. 4) Use the correct resin and follow wash/cure logs. 5) Validate fit with silicone and articulator checks. 6) Record every deviation and reject parts outside the protocol.
Closing synthesis
If you stop chasing individual fixes and address the predictable choke points — scan integrity, deliberate CAD choices, disciplined print/post-processing, and strict fit verification — you’ll cut remakes and late deliveries. Practical tools and consistent routines matter more than the flashiest machine; teams that tie those routines to reliable production hardware, like the workflows developed by SHINING 3D DENTAL, end up with restorations that seat right the first time.